
Getting a new HomePod mini out of the box feels exciting. It is a small speaker that fits in your palm, but it fills a room with sound. Before you can ask Siri to play your favourite song or set a timer for your tea, you need to complete the setup. The good news is that Apple made this process simple. You do not need any technical knowledge. You just need your iPhone or iPad nearby.
This guide walks you through every step. I will also share some simple fixes if something does not work the first time. By the end, your HomePod mini will be ready to use homepod mini for the first time.
What You Need Before You Start?
You cannot set up a HomePod mini with a Mac. You need an iPhone or an iPad. This is the first thing to know. The setup uses your phone to pass on your Wi-Fi details and Apple ID to the speaker.
Make sure your iPhone or iPad is updated to the latest software version. If your phone is running an old version of iOS, the setup card may not appear when you bring it close to the speaker. You can check this by going to Settings, then General, then Software Update.
Your phone also needs to be connected to your home Wi-Fi network. The HomePod mini will use the same network. Personal hotspots are not recommended because they can cause connection problems during setup. So make sure you are on your regular home Wi-Fi before you begin.
Read Also: HomePod Not Responding To Siri Fix After Reset
Step One: Plug In And Wait
Find a good spot for your HomePod mini. Place it on a solid surface like a table or a shelf. Apple suggests leaving at least 6 inches of space around the speaker. This helps the sound travel properly and keeps the Wi-Fi signal strong.
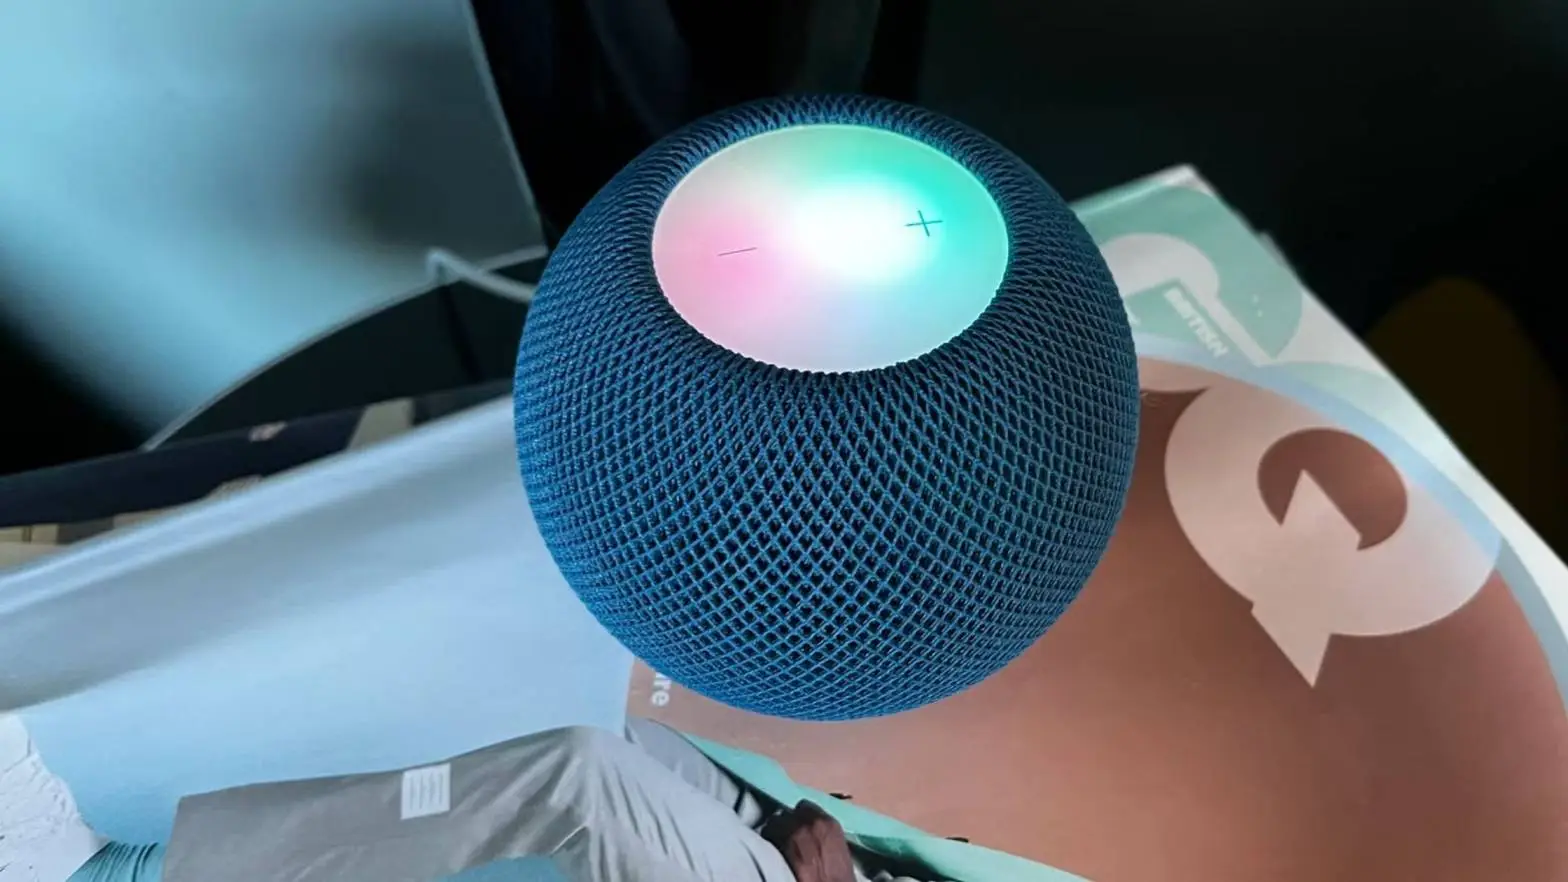
Now plug the HomePod mini into a power source using the cable and adapter that came in the box. As soon as it gets power, you will hear a chime sound. The top of the speaker will start glowing with a soft white light that pulses slowly. This means the speaker is on and ready for pairing.
If you do not see any light or hear any sound, check the power connection. Try a different plug point if needed. The light on top is your main clue about what the speaker is doing.
Step Two: Bring Your iPhone Close
Unlock your iPhone or iPad. Keep it unlocked. Now hold it right next to the HomePod mini. You do not need to touch the speaker. Just bring your phone close to it.
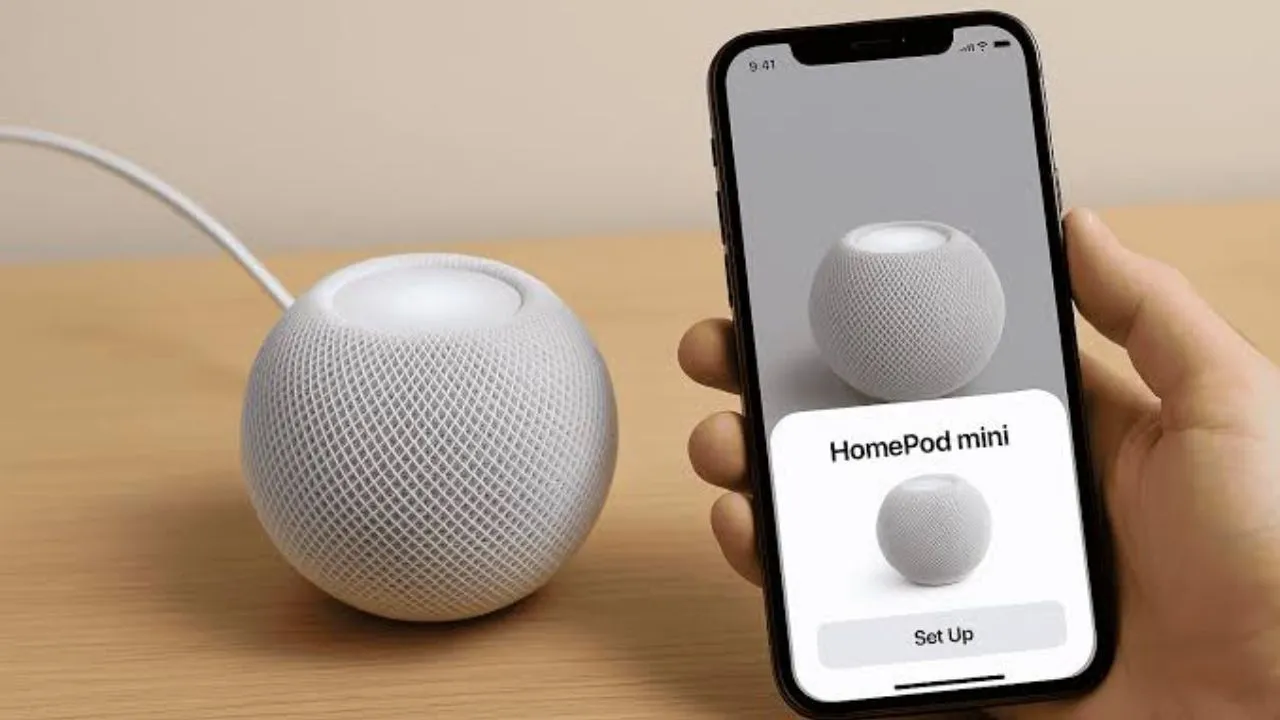
After a moment, a card will appear on your phone screen. It will say something like “Set Up” with a picture of the HomePod mini. Tap that button. This starts the pairing process.
Sometimes the card does not show up immediately. If this happens, do not worry. Just lock your phone and unlock it again. Then hold it close to the speaker once more. This simple trick usually makes the card appear.
Step Three: Use Your Camera To Pair
Your phone will now ask you to centre the HomePod mini in the camera viewfinder. This is a quick way to confirm which speaker you are setting up. Just point your phone camera at the top of the HomePod mini and adjust until it is in the middle of the frame.
If you cannot use the camera for some reason, there is another way. Tap the option that says “Enter Passcode Manually.” Siri will then speak a four-digit code out loud. You type that code on your phone to continue. This is a helpful backup if the camera is not working.
Step Four: Choose Your Settings
Now your phone will show a few options for you to pick. You can choose which room the HomePod mini is in, like “Living Room” or “Bedroom.” You can also decide if you want to use Siri with “Hey Siri” or just “Siri”.
You will also be asked about personal requests. If you turn this on, Siri can read your messages, add reminders, and do other personal tasks. You can always change these settings later in the Home app. So do not stress too much about getting everything perfect right now.
Follow the instructions on the screen. They are written in simple language and guide you through each choice.
You May Also Like: HomePod Productivity Tips to Boost Your Daily Efficiency
Step Five: Wait For Setup To Finish
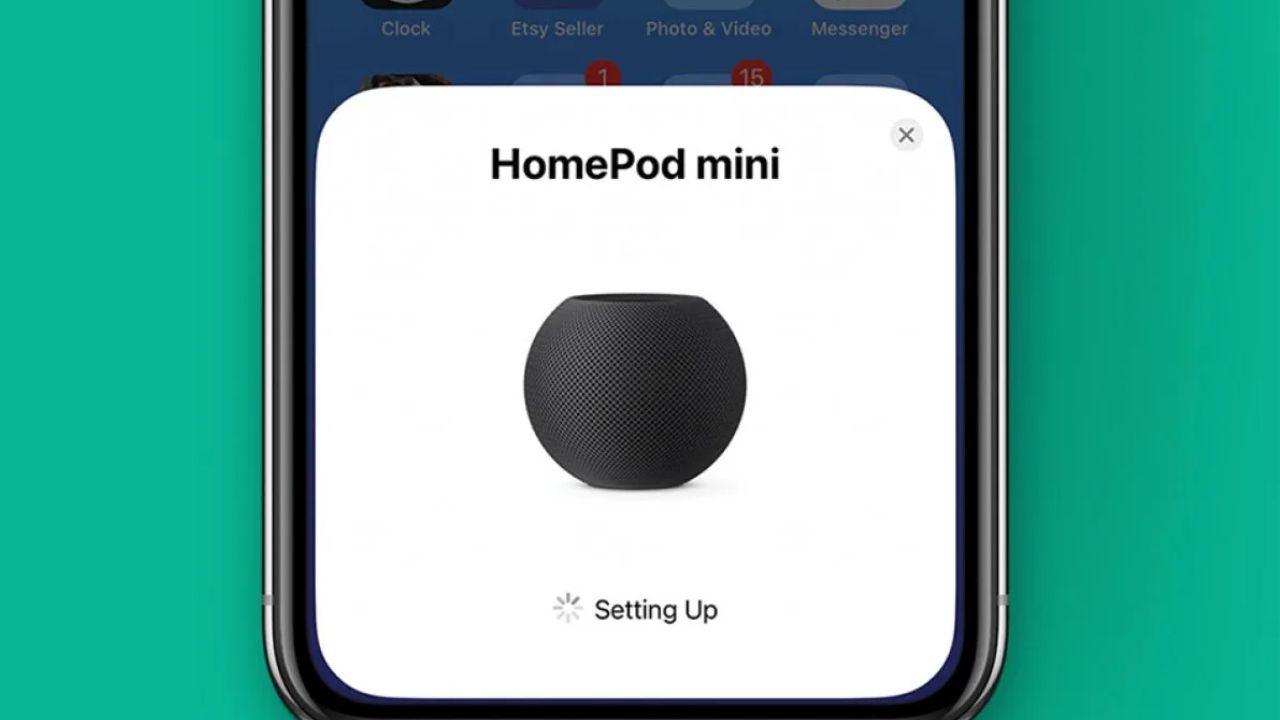
Once you have made your choices, tap “Done.” The HomePod mini will now finish setting itself up. This can take a few minutes. You might see a message saying it is still configuring.
During this time, you can already start using Siri on the HomePod mini to play music. The speaker does not need to be fully configured for basic voice commands. Just say “Hey Siri, play some music” and see what happens.
The configuration continues in the background through the Home app. You do not need to keep watching it. Just let it run.
How To Change Settings Later?
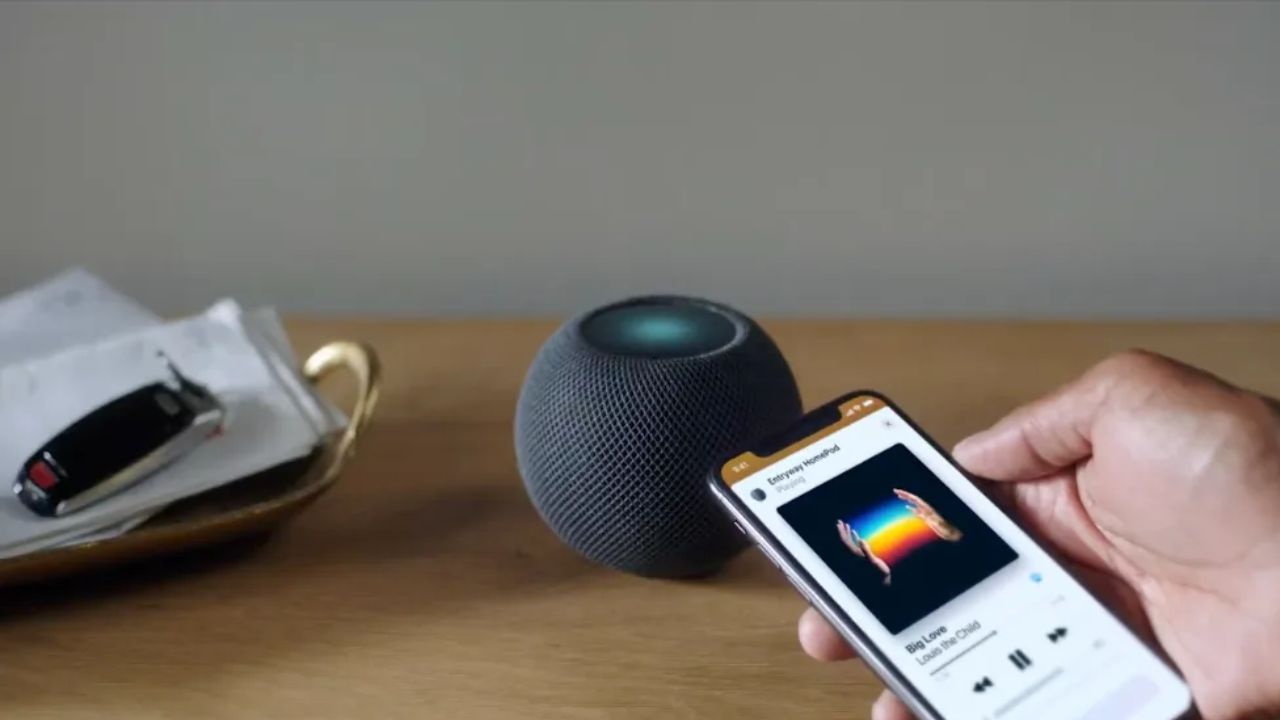
After setup is complete, you can adjust things whenever you want. Open the Home app on your iPhone or iPad. You will see your HomePod mini listed there.
Tap on the HomePod mini, then tap the settings button. From here you can change the room name, pick a different Siri voice, turn off the light that glows when Siri is active, or adjust how Siri listens for your voice. For example, if you only want to use “Hey Siri” and not just “Siri,” you can set that here.
This is also where you can restart the HomePod mini or remove it from your home if you ever need to.
What To Do If Setup Does Not Work?
Sometimes things do not go smoothly. The setup card might not appear, or the process might stop halfway. Here are a few simple things to try.
First, check that Bluetooth is turned on your iPhone. The HomePod mini uses Bluetooth to make the first connection. Also make sure you are connected to your home Wi-Fi and not a guest network. Guest networks often block devices from talking to each other.
If the setup card still does not show, restart both your iPhone and the HomePod mini. Unplug the HomePod mini, wait about ten seconds, and plug it back in. Wait for the white pulsing light again. Then restart your phone and try the setup once more.
Make sure you are signed in to iCloud on your iPhone. The HomePod mini needs iCloud to work with the Home app. Check that you are using the same Apple ID that you use for other Apple services.
If nothing works, you can reset the HomePod mini. Unplug it, then plug it back in and wait for the white light. Press and hold the top of the speaker. Keep holding until the light turns red and you hear a sound. Then let go. This erases all settings and lets you start fresh.
Conclusion
Place your HomePod mini away from walls and corners if possible. This gives you the best sound. Keep it near your Wi-Fi router for a strong connection.
If you ever see a message in the Home app saying the HomePod is “Not Responding,” check your Wi-Fi signal. You can see the signal strength in the Home app under the HomePod settings. If it shows two bars or less, try moving the speaker closer to your homepod mini for the first time.