


You just bought a new pair of Apple Airpods. Or maybe you have had them for a while. But you are not sure if you are using them the right way. Most people just connect them and start playing music. That works. But you are missing many useful settings. These settings can make your Airpods sound better. They can make them easier to use. They can even save battery life.
This guide is for Iphone users only. Because Airpods work best with an Iphone. The settings are inside your Iphone. You do not need any extra app. You do not need to be a technical person. Every step is simple. I will show you exactly where to tap.
Let us start.
Before You Change Any Setting
First make sure your Airpods are connected to your Iphone. Put them in your ears. Open the lid of the charging case near your Iphone. You will see a pop up on your screen. Tap Connect. If they are already connected, you are ready.
Also make sure your Iphone software is updated. Go to Settings. Then General. Then Software Update. If there is an update, install it. Newer Iphone software gives you more Airpods settings.
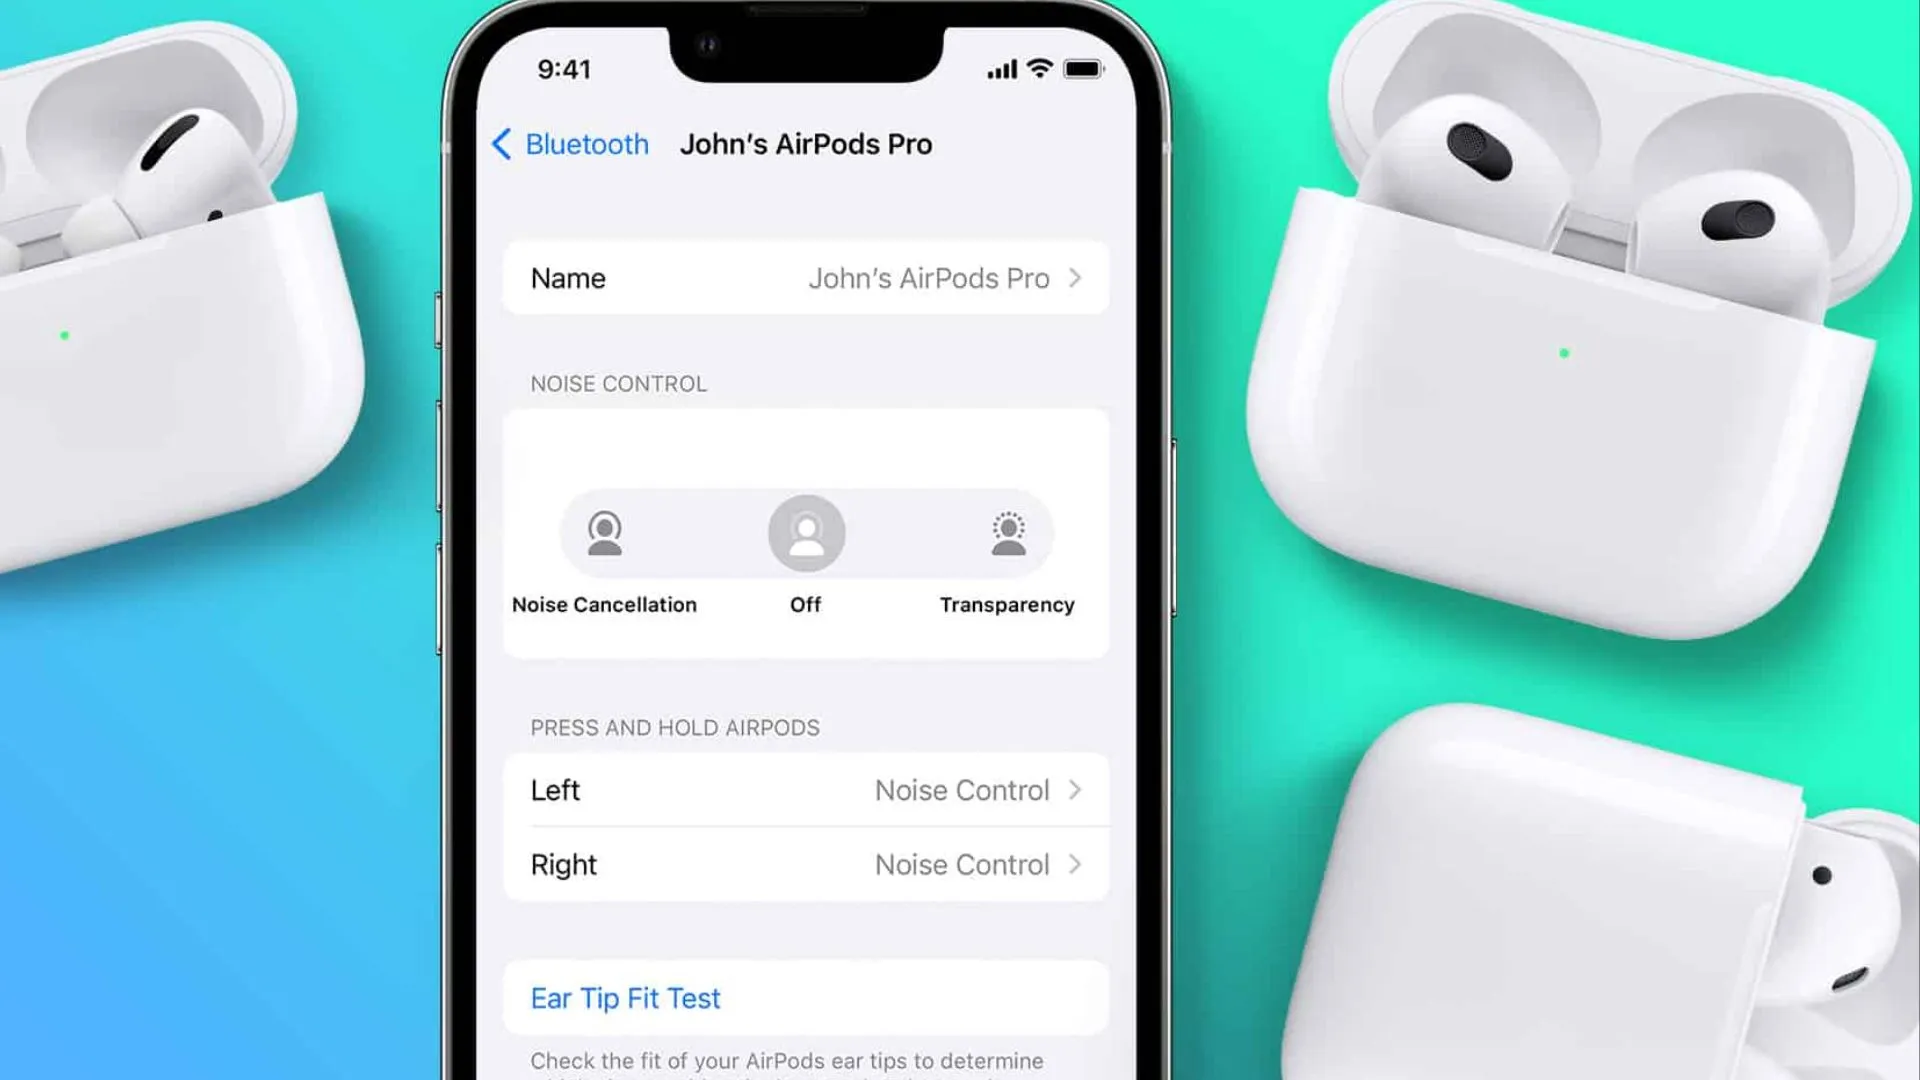
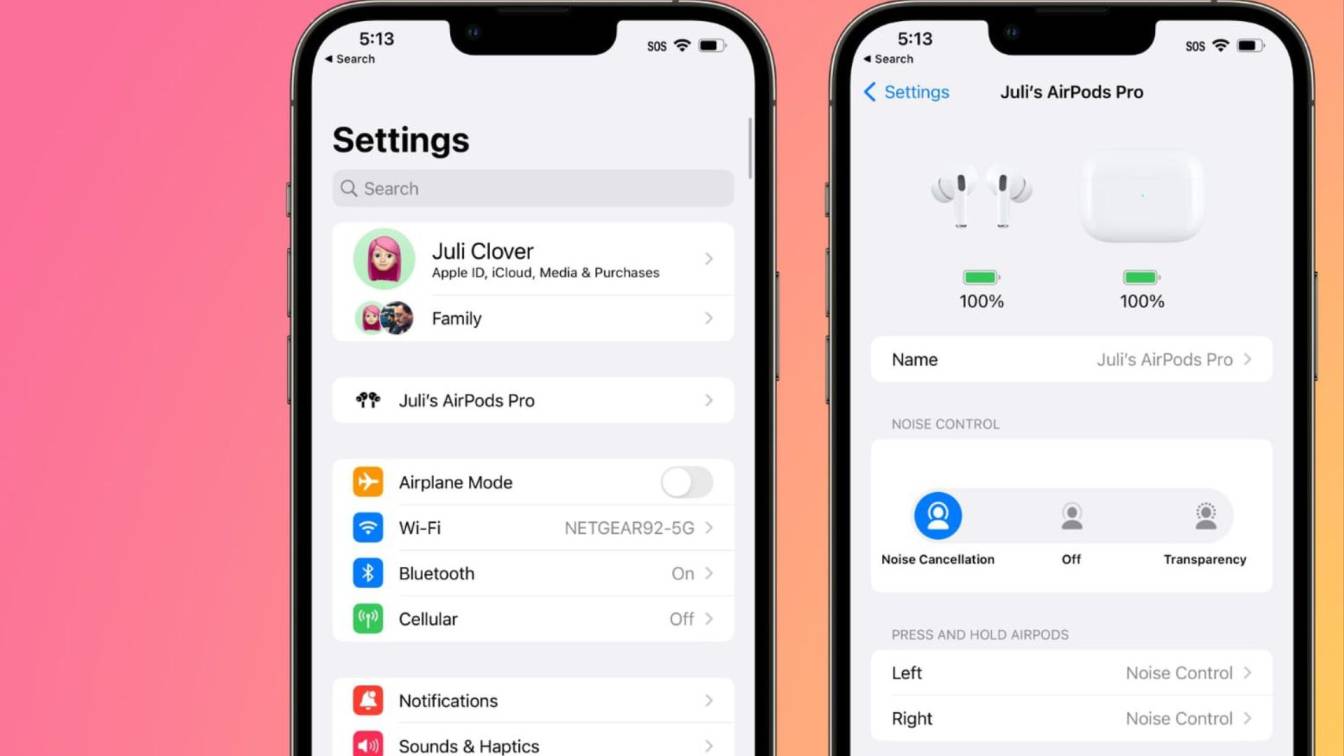
Now open your Iphone Settings app. You will see your Airpods name at the top. Tap on that. That is where all the controls live.
Read Also: Why Do My AirPods Keep Disconnecting And Reconnecting
Setting One Ear Tip Fit Test For Airpods Pro
If you have regular Airpods, you can skip this part. But if you have Airpods Pro, this is very important. The soft tip that goes in your ear must fit well. If it does not fit, the sound will be weak. The noise cancellation will not work right.
Here is how to check. Put both Airpods Pro in your ears. Go to Settings. Tap your Airpods name. Then tap Ear Tip Fit Test. Tap the blue button that says Continue. Then tap the Play button. The Iphone will play a short sound. It will tell you if the fit is good. If it says adjust or try a different size, change the soft tip. Each Airpods Pro box comes with three sizes. Small, medium, large. Try each one until the test says Good Seal.
Do not skip this. Most people use the wrong size tip. The medium tip is on the Airpods when you open the box. But your ears might need small or large. A good fit changes everything.
Setting Two Noise Control Modes
Your Airpods Pro have three noise modes. Regular Airpods do not have this. The three modes are Noise Cancellation, Transparency, and Off. Each one is for a different situation.
Noise Cancellation blocks outside sound. Use this on a bus or a plane. Use this in a loud coffee shop. The Airpods listen to the noise around you and cancel it. You only hear your music or your call.
Transparency mode lets outside sound in. Use this when you walk on a busy road. Use this when you need to hear a person talking to you. The Airpods bring the outside sound to your ears while you still hear your music.
Off mode means no noise cancellation and no transparency. Just natural passive listening. This saves battery.
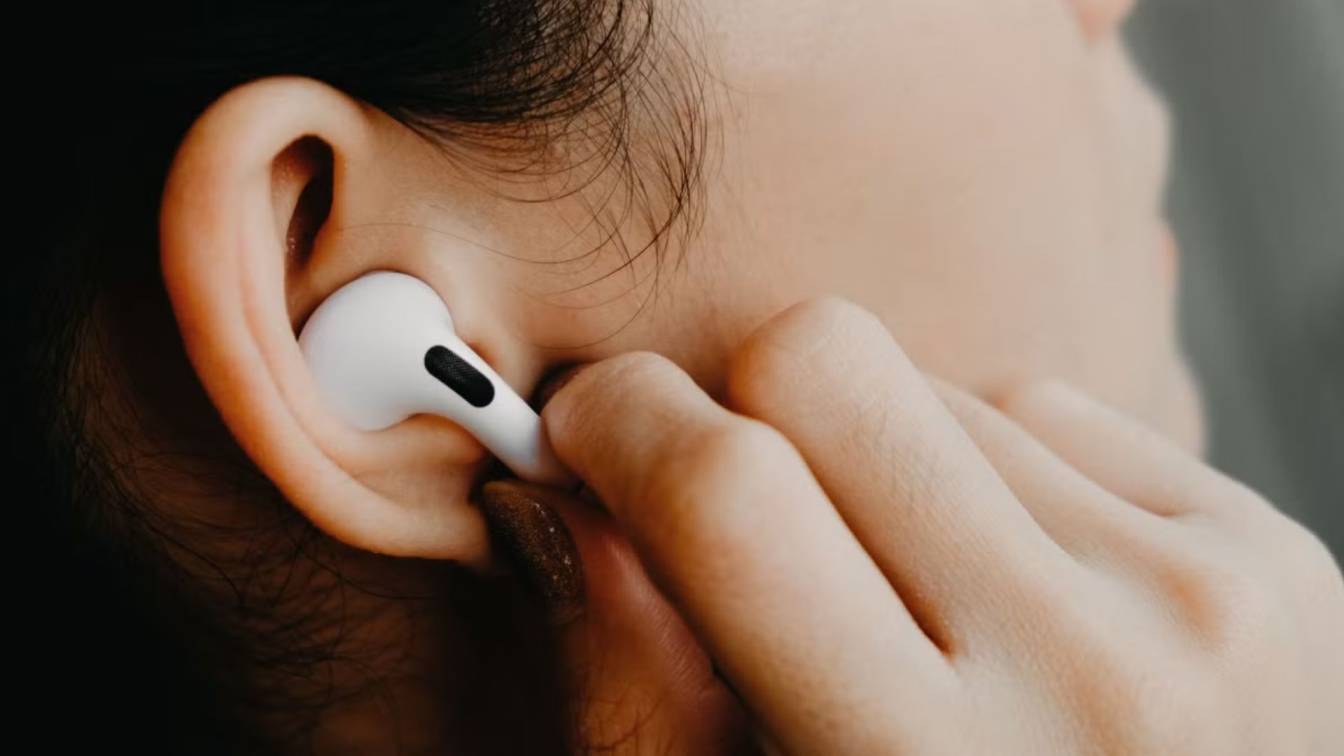
To change modes, press and hold the stem of either Airpod. You will hear a sound and the mode changes. You can also change it from your Iphone. Open Control Center. Press and hold the volume slider. You will see the mode buttons there.
Which mode is best? For most indoor quiet places, use Off. For noisy places, use Noise Cancellation. For walking outside, use Transparency so you stay safe and hear traffic.
Setting Three Press And Hold Controls
By default, when you press and hold the stem of your Airpod, it changes the noise mode. But you can change what this press does. You can make it start Siri instead. You can make it play or pause. You can make it go to the next track.
Go to Settings. Tap your Airpods name. Look for Press and Hold Airpods. You will see left and right options. Tap Left. You can choose between Noise Control or Siri. Tap Right. Same choices.
If you choose Noise Control, you can pick which modes you want to switch between. For example, you might want only Noise Cancellation and Transparency. Or all three modes. Pick what works for you.
If you choose Siri, then pressing and holding will talk to Siri. You can say play my favorite songs or call my brother or set a timer for ten minutes.
Think about how you use your Airpods. Do you change noise modes a lot? Then keep Noise Control on the press. Do you use Siri a lot? Then put Siri there. You can make the left do one thing and the right do another thing. For example left for Siri and right for noise modes.
Setting Four Microphone
Your Airpods have a microphone inside each earbud. By default, the Airpods decide which microphone to use. They switch between left and right based on which one hears your voice better. This is usually fine. But sometimes you might want to set it to one side only.
Why would you do that? Maybe you want to save battery on one side. Or maybe one side is closer to your mouth when you talk. Or maybe one microphone is not working well.
Go to Settings. Tap your Airpods name. Tap Microphone. You have three choices.
-
Automatically Switch Airpods. This is the default. The Airpods decide.
-
Always Left Airpod. The left microphone always stays on.
-
Always Right Airpod. The right microphone always stays on.
For most people, Automatically Switch is the best choice. But if you notice your calls sound low or noisy, try fixing the microphone to one side. Pick the side that stays closer to your mouth when you speak.
Setting Five Automatic Ear Detection
This is a small setting but very useful. When it is on, your Airpods know when they are in your ears. When you take them out, your music stops. When you put them back in, your music starts again. This saves battery and saves you from pressing buttons.
Go to Settings. Tap your Airpods name. Look for Automatic Ear Detection. Make sure the switch is green. If it is gray, tap it to turn it on.
When should you turn this off? Almost never. The only time to turn it off is if you want to share one Airpod with a friend and keep the music playing while the other Airpod is out of your ear. Or if you want to rest your Airpods on a table and keep listening through the speakers of your Iphone. For normal use, keep it on.
Setting Six Spatial Audio
Spatial Audio is a special sound feature. It makes music and movies feel like they are all around you. Not just left and right. But above, below, behind. Like you are inside the sound.
To turn it on, put your Airpods in your ears. Go to Settings. Tap your Airpods name. Scroll down to Spatial Audio. Tap See and Hear How It Works. The Iphone will play a demo. You will hear the difference right away. Then turn on Spatial Audio.
There is also a setting called Follow Iphone. When this is on, the sound stays fixed to your Iphone. When you turn your head, the sound changes as if the Iphone is the center. When this is off, the sound stays fixed to your head no matter how you turn. Try both and see which one you like. Most people like Follow Iphone for movies. For music, many people turn it off.
Spatial Audio uses more battery. But for watching a movie on your Iphone, it is worth it.
Setting Seven Optimized Battery Charging
Your Airpods have a small battery. Over time, batteries get weaker. If you keep your Airpods at full charge all the time, the battery gets weaker faster. This setting helps slow down that damage.
Go to Settings. Tap your Airpods name. Turn on Optimized Battery Charging. What does this do? Your Iphone learns when you usually use your Airpods. If you always use them at 8 in the morning, the Airpods will charge to 80 percent at night. Then they wait. One hour before you normally use them, they finish charging to 100 percent. This keeps the battery healthier for longer.
Do not worry if you see your Airpods at 80 percent when you wake up. That is the setting working. They will reach 100 percent before you put them in your ears.
Setting Eight Find My Network
Airpods are small. They fall out of pockets. They get lost between couch cushions. You can use the Find My app on your Iphone to find them. But you need to turn on one setting first.
Go to Settings. Tap your Airpods name. Scroll down to Find My Network. Turn it on. This lets your Iphone find your Airpods even when they are offline. Even when they are inside a closed case. Even when they are far away.
If you lose an Airpod, open the Find My app. Tap Devices. Tap your Airpods. You will see them on a map. You can make them play a sound. The sound gets louder over time. You can walk around and listen for the sound. This has saved many people from buying new Airpods.
Also turn on Notify When Left Behind. This sends you a message on your Iphone if you walk away from your Airpods. For example if you leave them at a restaurant or in your car. This setting is inside the Find My app. Open the app. Tap Devices. Tap your Airpods. Tap Notify When Left Behind. Turn it on. Then pick which places to ignore like your home address so you do not get alerts when you are home.
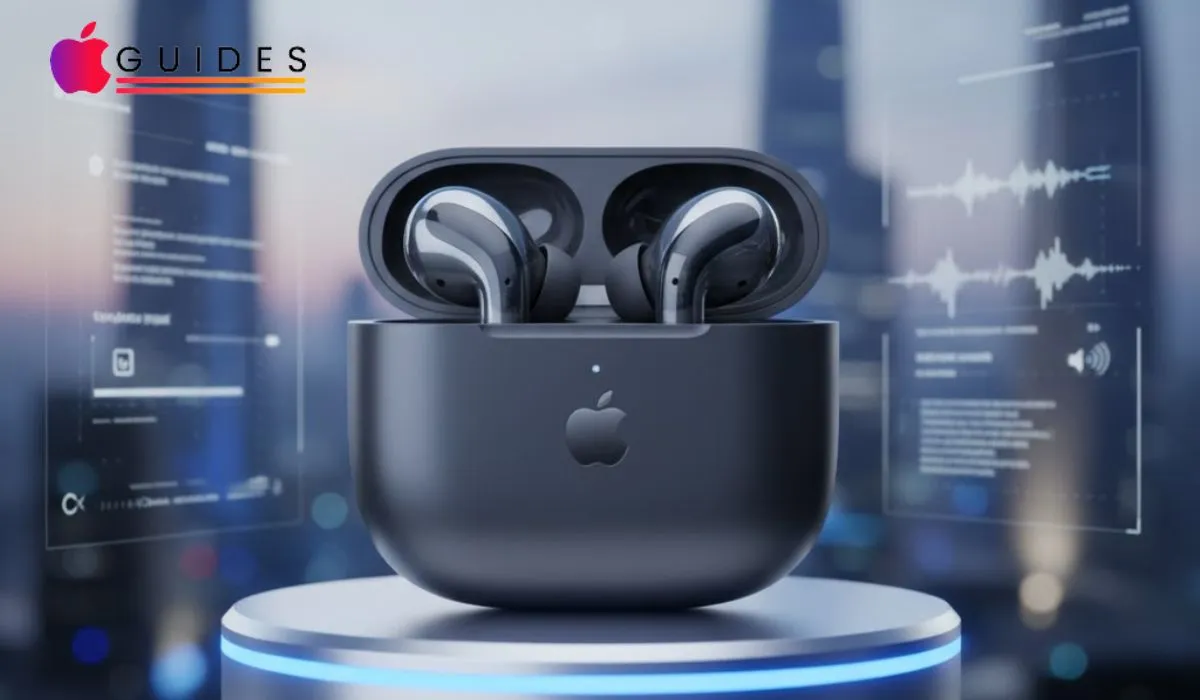
Read: Apple AirPods Pro 3: Everything We Expect from the Next Big
Setting Nine Accessibility Settings For Better Sound
There is a hidden menu inside Iphone settings. It is called Accessibility. It has many tools for people who have trouble hearing. But anyone can use these tools to make Airpods sound better.
Go to Settings. Tap Accessibility. Tap Audio and Visual. Then tap Headphone Accommodations. Turn it on.
Now tap Custom Audio Setup. The Iphone will play different sounds. You will say which ones you hear best. Then the Iphone will change the sound of your Airpods just for your ears. This is not a gimmick. It actually works. Voices become clearer. Soft sounds become louder. Loud sounds do not hurt.
You can also manually adjust. Below Custom Audio Setup, you see Tune Audio For. You can pick Balanced Tone, Vocal Range, or Brightness. Try each one while playing a song. Pick the one that sounds best to you.
Then go back to the Accessibility main page. Tap Airpods. Then tap Noise Control with One Airpod. Turn this on. This lets you use noise cancellation even when you only have one Airpod in your ear. Normally noise cancellation only works when both Airpods are in. This setting changes that. Very useful if you want to block noise but keep one ear free to hear someone talking.
Setting Ten Changing The Double Tap Action For Older Airpods
If you have older Airpods that are not Pro models, you do not have press and hold. You have double tap. You tap the flat outside part of the Airpod twice. You can choose what the double tap does.
Go to Settings. Tap your Airpods name. You will see Left and Right. Tap Left. You can choose Siri, Play Pause, Next Track, Previous Track, or Off. Tap Right and make the same choices.
Think about what you do the most. If you skip songs a lot, put Next Track on one side. If you need Siri a lot, put Siri on one side. If you want to play and pause, put Play Pause. You can make left and right do different things.
Setting Eleven Live Listen
Live Listen is a secret feature. It turns your Iphone into a remote microphone. You put your Iphone near the person or thing you want to hear. Then you hear that sound clearly in your Airpods.
This is good for hearing a teacher in a loud classroom. Or hearing a tv show when you are far from the tv. Or hearing a friend in a noisy restaurant.
To set it up, go to Settings. Tap Control Center. Scroll down and tap the green plus button next to Hearing. Now open Control Center on your Iphone. Swipe down from the top right corner. Tap the ear icon. Tap Live Listen. Then put your Iphone near what you want to hear. Put your Airpods in your ears. You will hear that sound clearly.
Some people use this as a listening tool. Some people use it to spy on a conversation in another room. That is not a good use. Use it to help you hear better, not to invade privacy.
Bonus Setting Announce Notifications
When you are walking or driving, you do not want to look at your Iphone screen. You want to hear your messages. Announce Notifications lets Siri read your incoming messages out loud. Then you can reply without touching your phone.
Go to Settings. Tap Notifications. Tap Announce Notifications. Turn it on. Then pick which apps can announce. Messages, Whatsapp, Phone Calls, Calendar. Pick only the important ones. Otherwise Siri will talk too much.
Now when a message comes in, Siri will say message from person name. Then read the message. Then ask do you want to reply. You say yes and then say your message. Siri sends it.
This works only with Airpods. Not with other headphones.
Troubleshooting Common Problems
Sometimes your Airpods do not work right. Here are quick fixes.
- If one Airpod is not making sound, put both back in the case. Close the lid. Wait ten seconds. Open the lid and put them back in your ears.
- If your Airpods will not connect, go to Settings. Tap your Airpods name. Tap Forget This Device. Then put the Airpods near your Iphone with the lid open. Press and hold the button on the back of the case until the light flashes white. Then tap Connect.
- If sound keeps cutting out, turn off Automatic Ear Detection. Then turn it back on. If that does not help, turn off Bluetooth from Control Center and turn it back on.
- If battery drains too fast, turn off Optimized Battery Charging and then turn it on again. Also turn off Spatial Audio when you do not need it.
Conclusion
You have learned eleven settings and one bonus setting. Start with the Ear Tip Fit Test if you have Airpods Pro. Then set your noise modes. Then set your press and hold or double tap. Then turn on Find My Network so you never lose your Airpods. Then go to Accessibility and run the Custom Audio Setup. That last step makes the biggest difference in sound quality.
Do not try to change all settings at once. Change one setting. Use it for a day. See if you like it. Then change another. After one week, your Airpods will feel like a new device. They will work exactly the way you want.